Table of Contents
Do you spend hours a week watering your garden during the summer? Are you worried about your garden plants dying when you’re away from home? Then you need to install an automatic garden irrigation system that will water your plants automatically. I’ve found a DIY kit by Hozelock that is easy to install (and affordable) so your garden will look amazing this year.
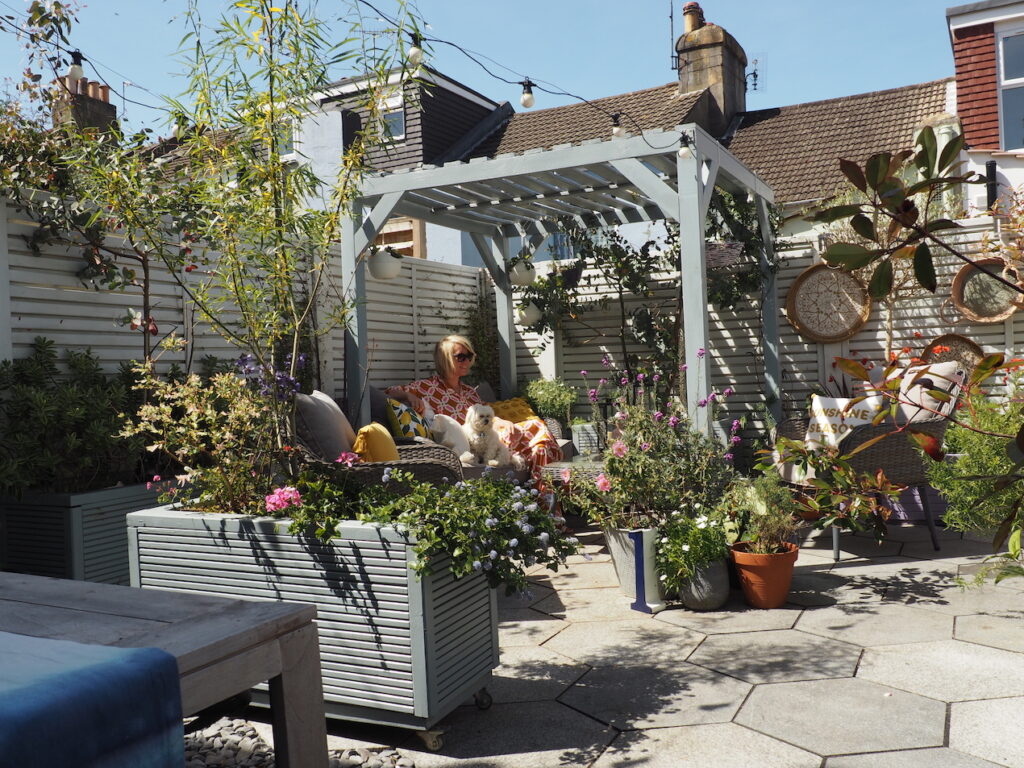
Keen gardeners are always looking for ways to keep their gardens looking in tip-top shape during the hot summer months. in my own garden, I was spending at least 30 mins a day watering all my plant pots. And when I went away with work, I was paying someone to come in to water them so that all my lovely garden wouldn’t dry out. This was both costly and time consuming.
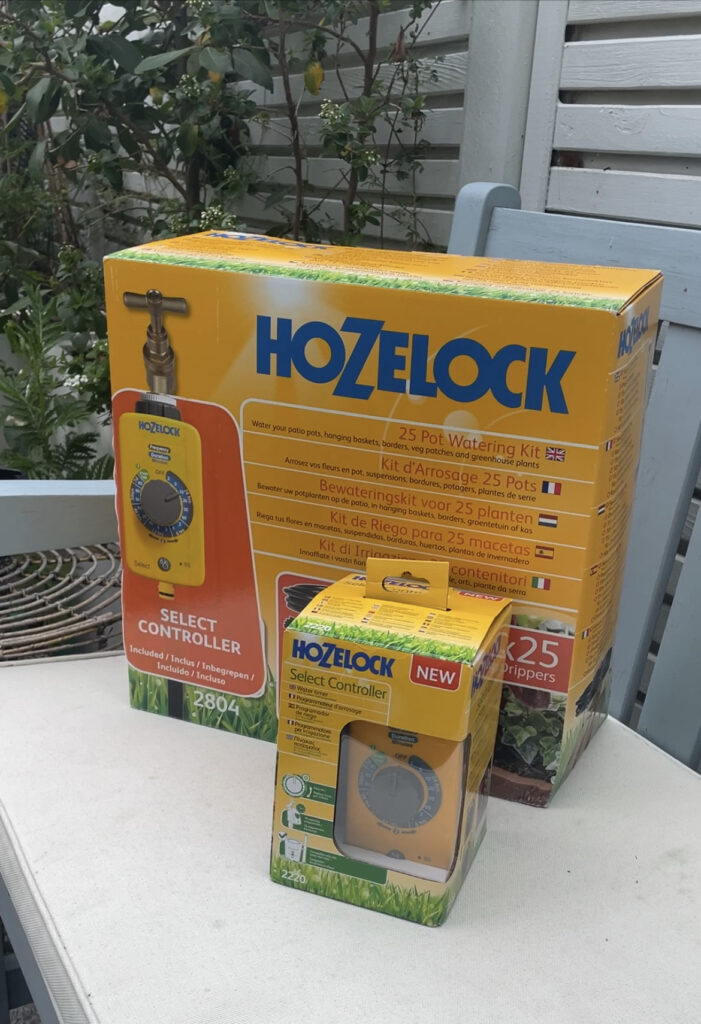
That’s when I discovered Hozelock who stock DIY automatic garden irrigation systems. Since I fitted one myself in the summer, I’ve not looked back. My garden blooms even during the hottest months.
What is An Automatic Garden irrigation System?
An automatic watering is the method of irrigating your garden with a network of hidden supply pipes and emitters connected to your outside tap. When used in conjunction with a water timer, an automatic watering system can be timed to turn on daily as much or as little as your garden needs.
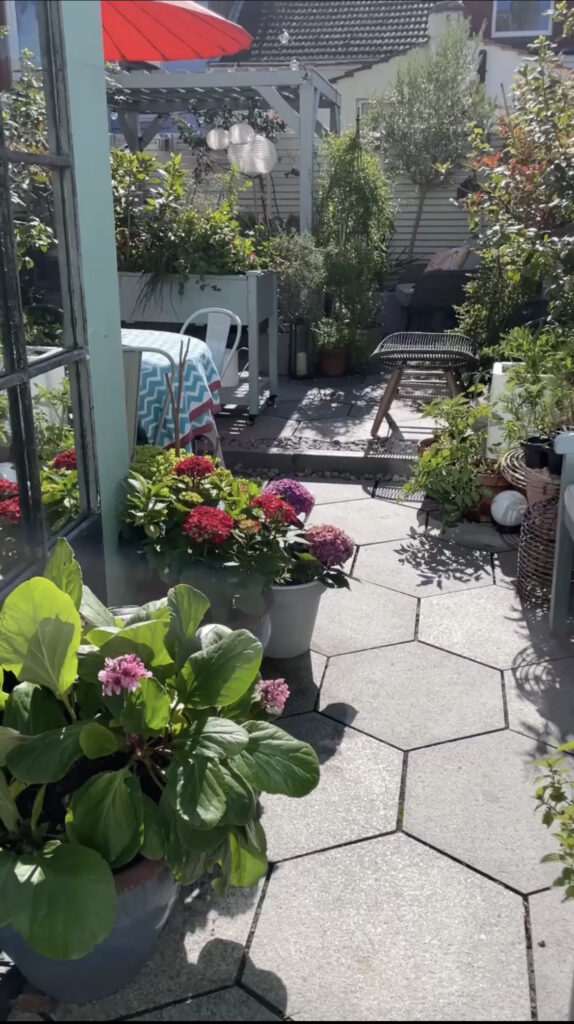
These watering systems can be installed in greenhouses, flower beds, plant containers, hanging baskets, and much more! If you have a plant that needs watering, this system can water it automatically. It’s brilliant for urban gardens like mine which is built mostly from pots which tend to dry out quickly.
Why use Automatic Watering?
An automatic garden irrigation system takes the work out of watering the garden. It ensures your plants are healthy all year round, and that you use water as efficiently as possible.
You’ll make water savings of up to 90% compared to using a traditional hosepipe which will cut down your water bills. Using a water timer with your system allows for automatic daily watering any time you choose. This is perfect for gardeners that are busy, forgetful, or for when they go away on holiday.
Now you know all the benefits, let’s me explain how simple it is to fit an irrigation system in your garden.
DIY Guide to Fitting An Garden Irrigation System
Let me show you how to create your own watering system using Hozelock’s easy to install and simple to use irrigation system. Their kits come with everything you need for a small garden. Once installed, you’ll have a happy and healthy garden in no time.
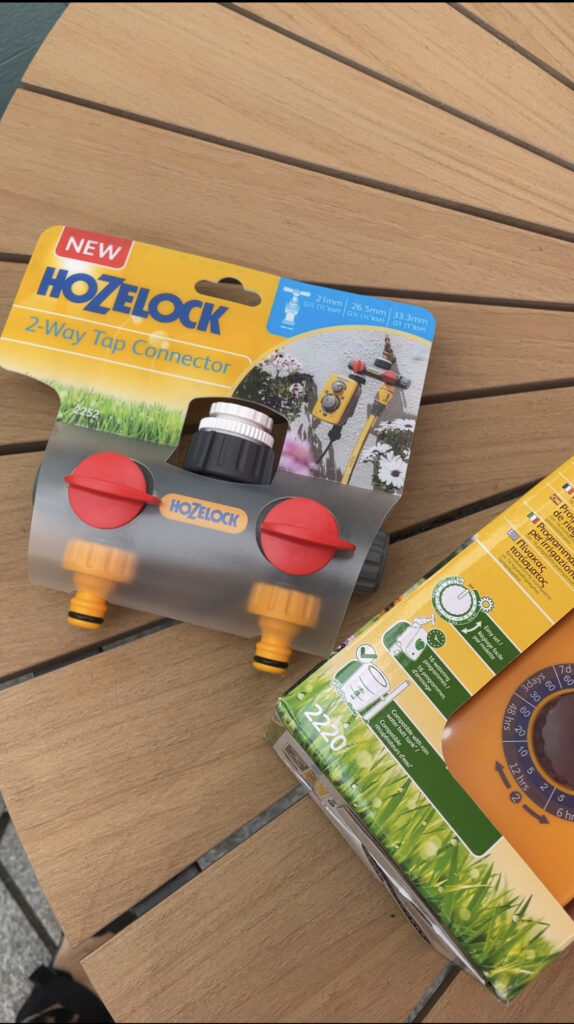
STEP ONE: Tap Connection & Control
The tap connection is the most important element of a garden irrigation watering system. It connects the watering system to the main water source (usually an outdoor tap).
I would suggest that you splash out on a water timer that can automate your watering system. This will save you time and make sure your plants are regularly watered, even when you’re away on holiday or a business trip.
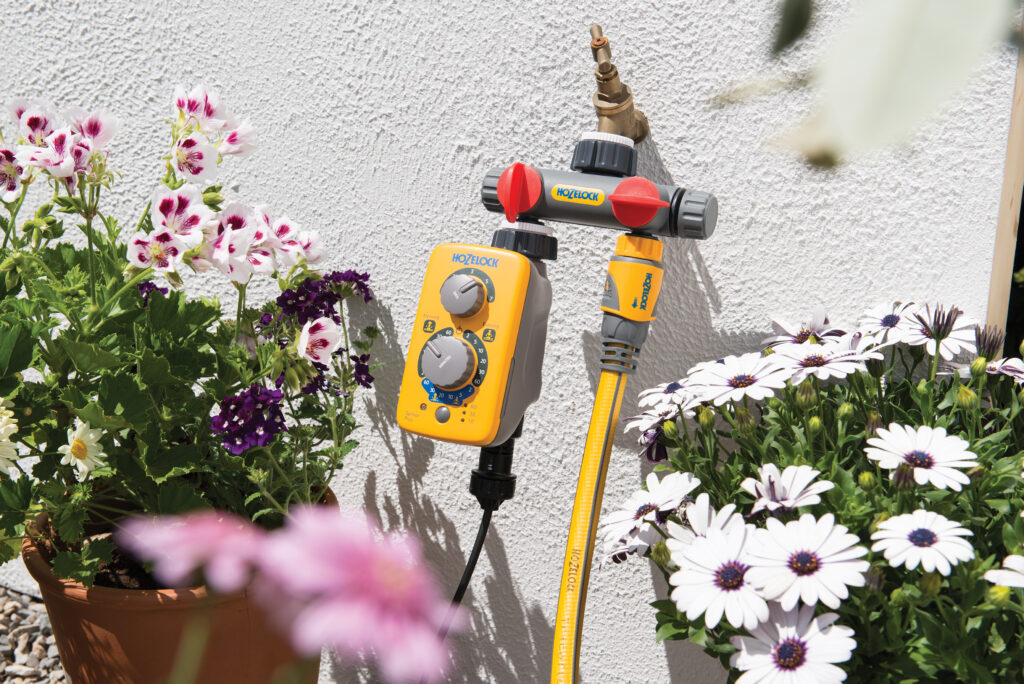
Your programmable water timer can be directly screwed onto an outside tap. No tricky electrical wiring is required as they are battery powered. And batteries typically last an entire watering season. Programming is easy, and there’s a manual override for other watering tasks.
If you plan to use a water timer, it needs to connect directly to the water source. I added a garden tap splitter to my timer so that I can keep my water irrigation system plugged in at all time but also be able to fill my watering can via the spare connector.
READ: IS YOUR SMALL GARDEN MISSING ONE OF THESE 3 NIFTY TOOLS?
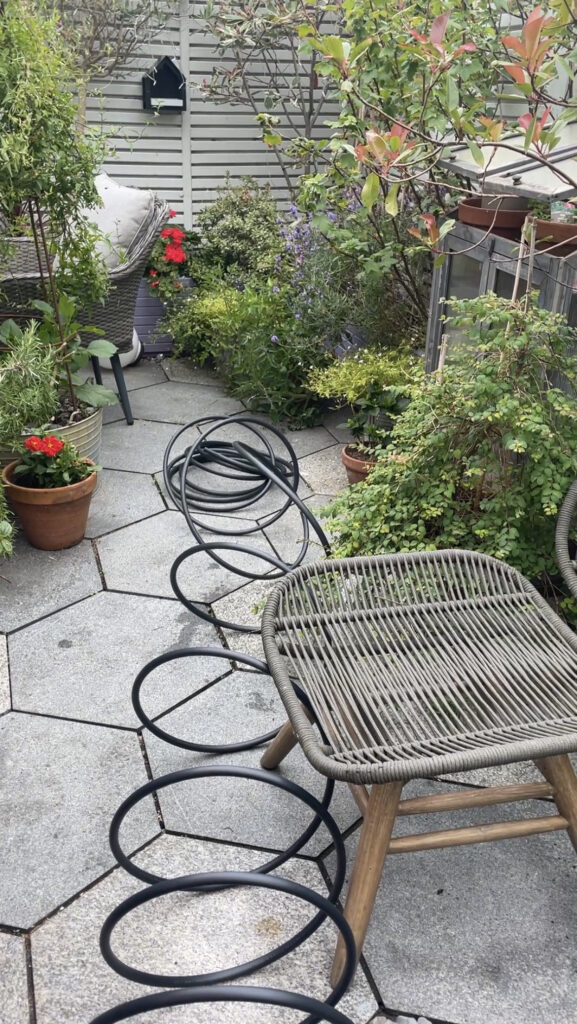
STEP TWO – Creating a Network of Supply Pipe
The second step to installing an automatic watering system is to build the network of supply pipes that wind around your garden.
Before you start, plan the route your supply pipes will take before cutting them to size. You’ll want to make sure all your garden will be reached. Uncurl the pipe a few hours before you plan to install the water garden irrigation system so it has a chance to straighten out the kinks.
All the Hozelock tubing is supple, durable and UV resistant so it will withstand the pressures of an English summer.
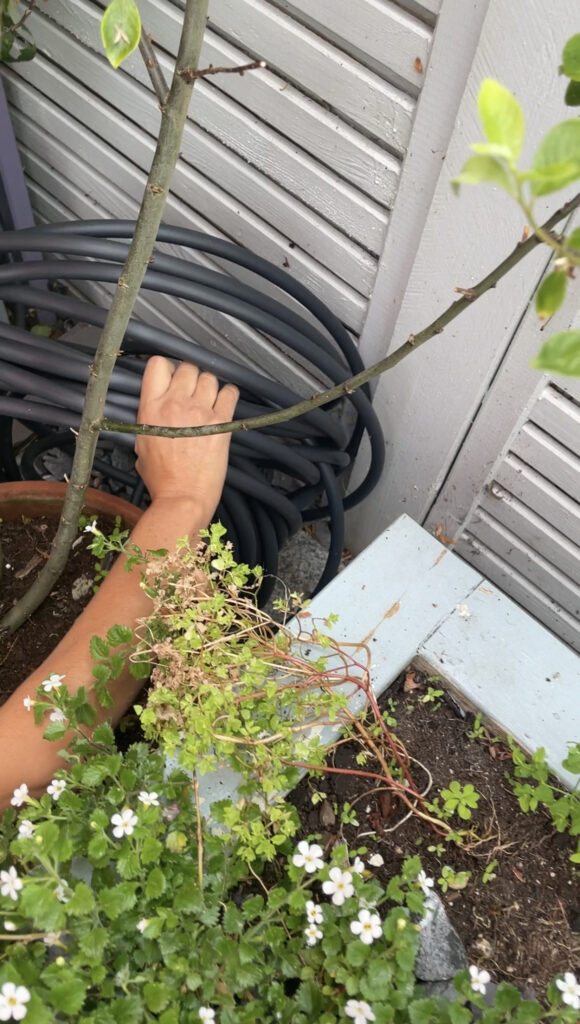
There are two different sizes of supply pipe to choose from: 13mm supply tube is used to act as the primary carrier of water from the source. Then a 4mm supply pipe to feed the water to individual plants. All you need to cut the pipe is a Stanley knife or a sharp pair of scissors. It’s that easy!
Make sure you test out the system as you go to make sure that there are no leaks. You’ll want all the connections to be tight so that water flows properly.
READ: HOW TO LIGHT UP YOUR GARDEN THIS AUTUMN WITH THESE 4 IDEAS
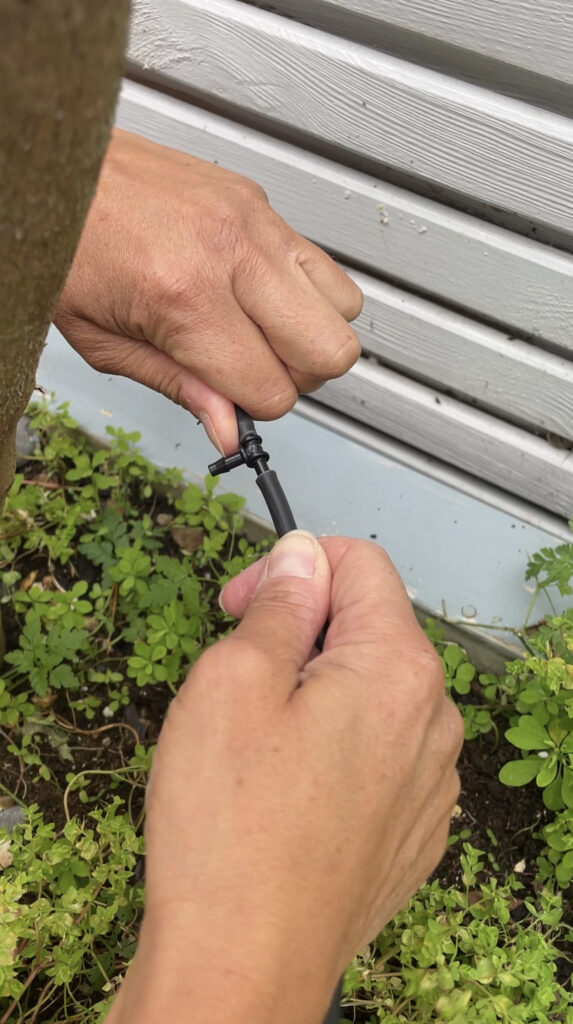
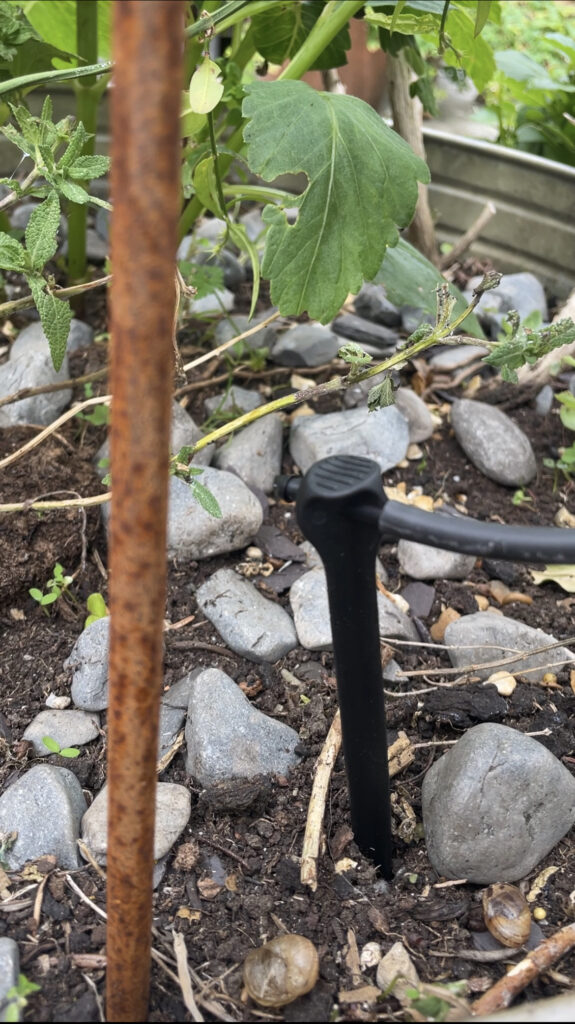
STEP THREE – Add 13mm Supply Hose & Dippers
So the main 13mm supply pipe acts as the main carrier of water which runs around the entire garden. Then you’ll use elbows, t-pieces and joiners (known as dippers) to make the network into each pot. Use wall clips and stakes to secure the pipe in place so water doesn’t spray everywhere.
The 13mm supply pipe can be buried up to 5cm in the ground or covered with mulch so you can’t see your system.
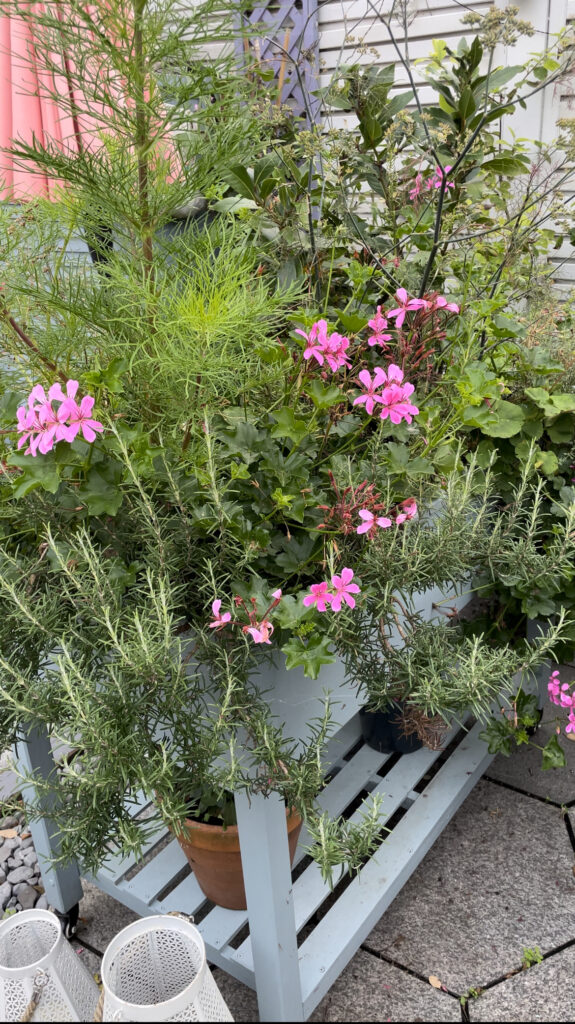
STEP FOUR – PROGRAMMING THE TIMER
Once you have set up all the pipework around your garden, you’ll want to program the timer to suit the weather temperature. I have mine come on for 10 mins in the morning and then 15 mins in the evening. During the hotter months, I turn it on for three to four times a day. My garden has never looked so good.
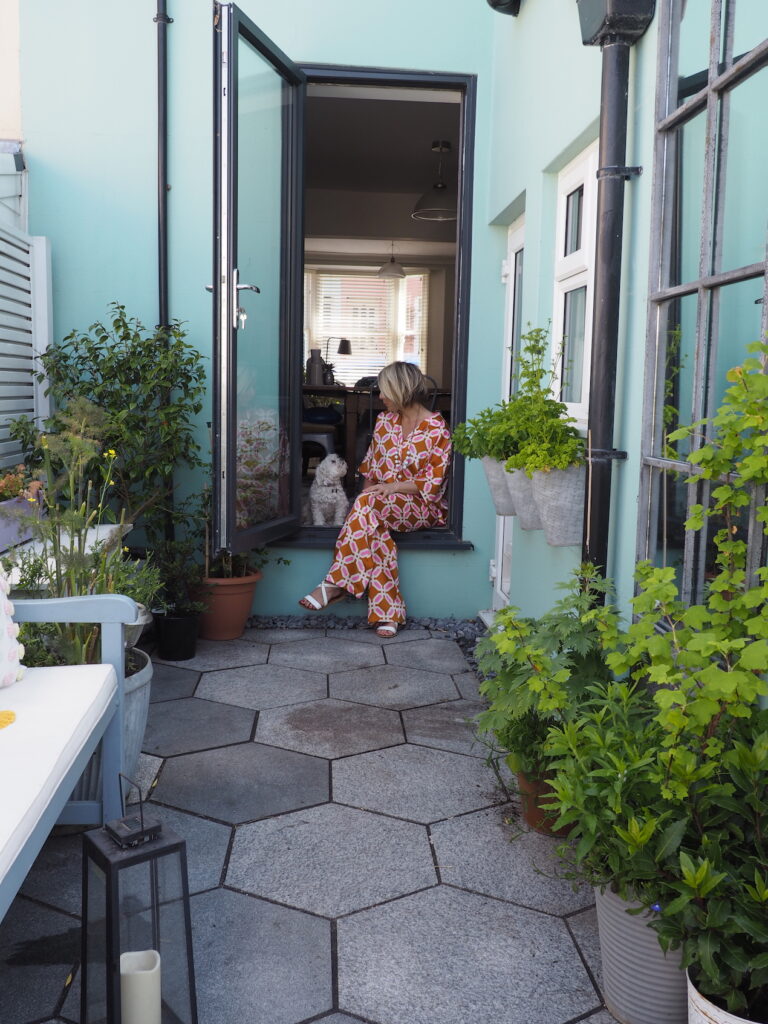
What do you think of this Garden irrigation System?
All of the Hozelock products mentioned can be bought online. Prices for Hozelock automatic watering kits start from £35.99.
I hope this post has given you the confidence to install an automatic garden irrigation system in your garden. Any questions, just ask me in the comments box below.

