Table of Contents
The shingles, windows, solar panel, and the insulation were all designed by 3M to help create solutions for the most pressing climate challenges that impact people’s lives. I’m utilizing these materials on a doghouse to show you where technology is advancing to, but imagine if every new construction site were also using them and we started making our buildings work in better balance of nature.
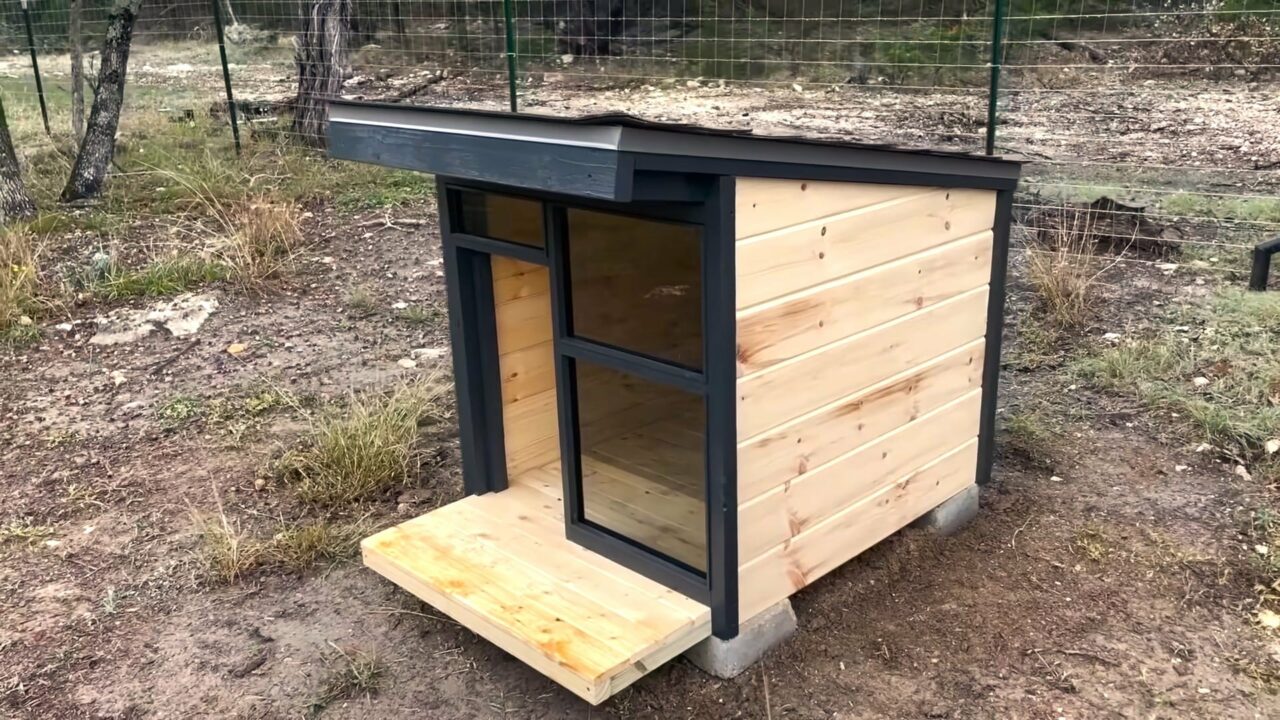
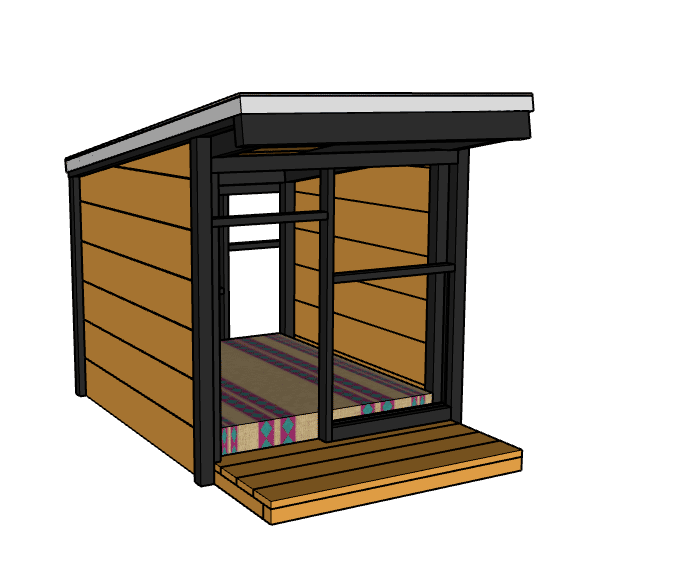
Modern Dog House
Materials I Used to Build The Dog House
Step 1: Laying out parts and pre-drilling
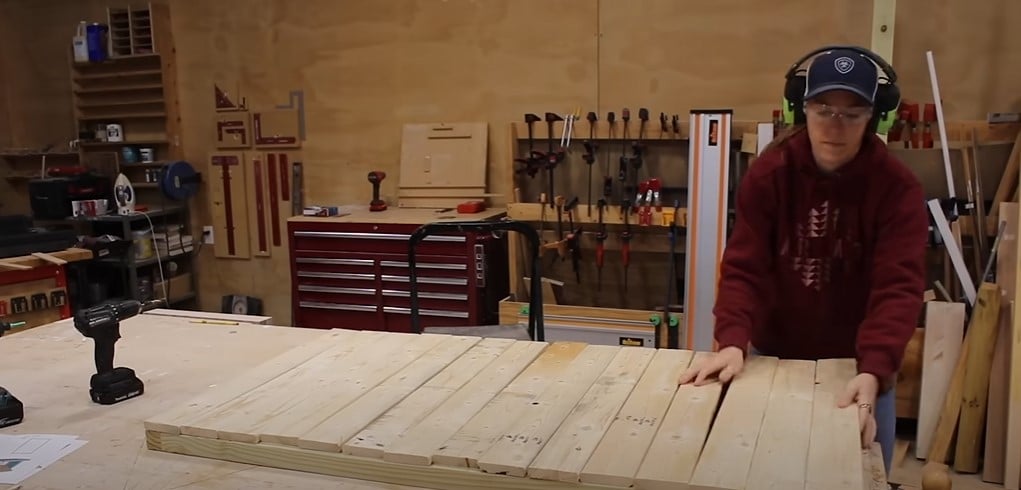
There are four main components to build: The deck, the front, the back, and the roof. I started off by grabbing all the parts that will make up the deck and laid them out on my workbench so that I could predrill and attach things together with screws. I do have a set of plans for this project if you would like a material list and a cultist to build your own.
Next I laid out all the flooring material to attach it to the topside of this framing. I was shocked that the price was a 1/3rd of the cost and I just made sure to put the ugly side down! You’ll want to make sure the frame is square before attaching the decking. I used an 18 gauge nailer to quickly attach things.
Step 2: Attaching the pieces to make up the front of the dog house
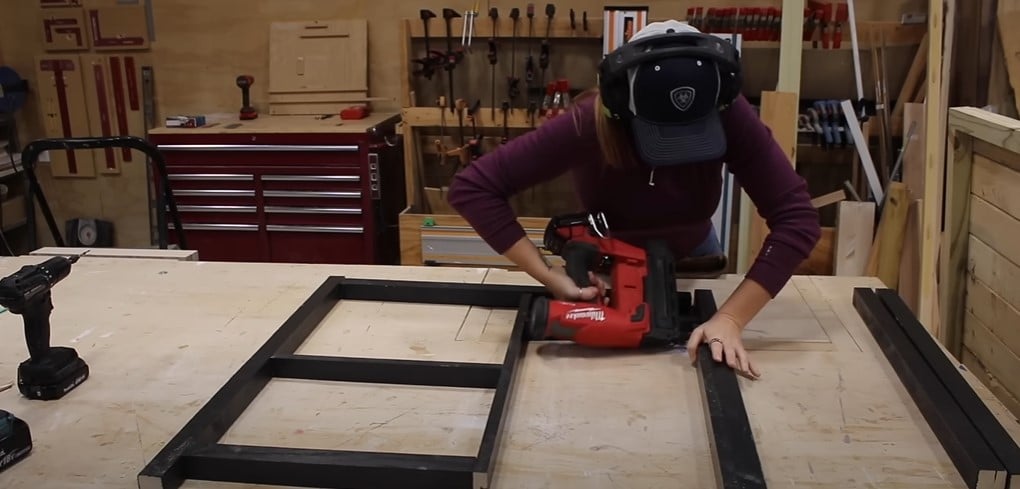
Ok, first big component down. Now lets set that aside and pull in the pieces that will make up the front. I cut all the parts according to my cut list then did a dry fit first just to make sure there weren’t any obvious problems. Once everything was laid out and things seemed to work, I started attaching things. As you can see I’ve pre-painted mine and that’s because of the color scheme I wanted in the end, it’s much easier to paint the framing beforehand.
After getting done, I set it aside and repeated those same steps to frame up what will be the back wall, then set it with the others.
Step 3: Making the dog house roof
The last major component to build is the roof. If you use my plans to build this dog house, I would recommend keeping the pieces separated like this so it makes building time go much quicker. At each stage, I was able to bring in the needed parts for that assembly then quickly arrange them, and screw them together. If you notice me skipping the wood glue it’s because it doesn’t stick very well to painted parts. If you have raw parts, then you could use some on each joint, just make sure it’s exterior.
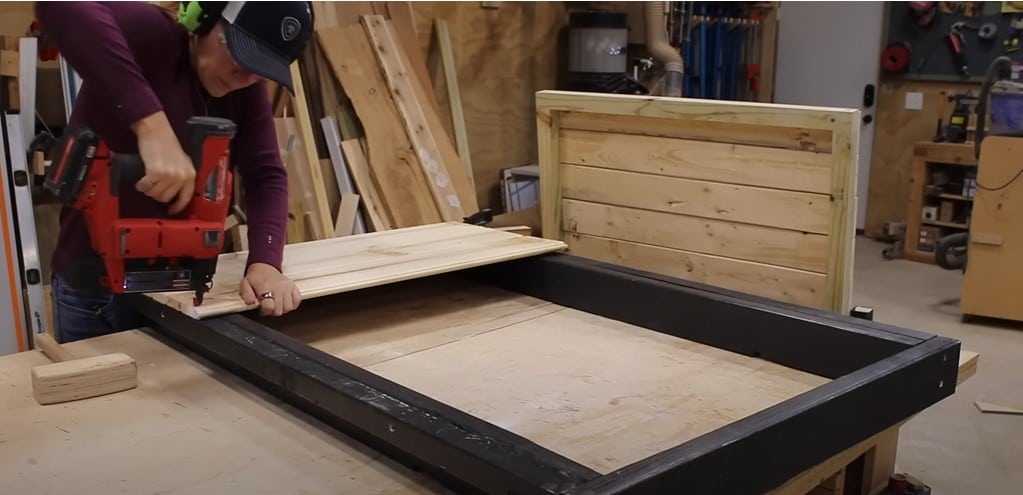
After knocking out the framing for the roof, I applied this tonge and groove material on top. You could absolutely use some sheet material like OSB or Plywood, but I wanted the inside of the roof to match the siding I will add later. Tonge and groove is awesome because it goes together so nicely and connects with the previous board.
I’m once again using my 18 gauge nailer here to pin it to the framing. I started on one end, then worked my way down to the other. When I got to the end, I held the board in place, making sure the tonge and groove were facing the correct direction, made a mark on the underside, then cut this board to the needed depth to fill in the remaining space.
Step 4: Attaching all of the assemblies together
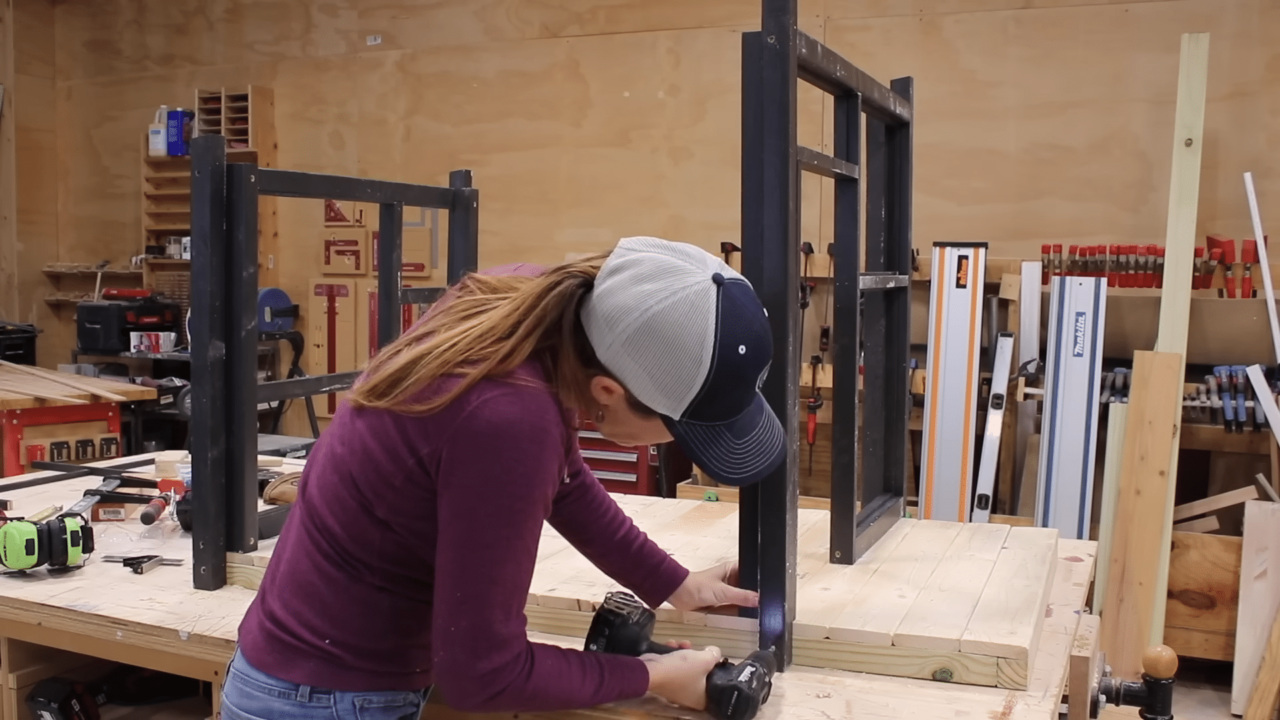
Alrighty, now lets play shuffle and start throwing all the main components together. I’ll set the roof over here, move the front and back, so that I can grab the deck and set it on the workbench again. Now I’ll grab the back to start and if done correctly, it should just slip right onto the deck. I predrilled and threw in a few screws to attach it. Then repeated with the front. Since this dog house is a little bougie, there is a porch so the front is set back a ways to create said porch.
Now lets throw the roof on. I found it easiest to climb up on my workbench to do this, but building it on the ground could also work. The framing of the front and back walls have ‘ears’ on them to help locate the roof, but it might need some help to seat the roof all the way down since it’s a tight fit. Something that helped is backing out the top screw in the framing to allow that ‘ear’ to flex out slightly. Once the roof was seated all the way, I could tighten back up on the framing but also attach the framing to the roof to secure it down.
Step 5: Installing the siding of the dog house to close the walls
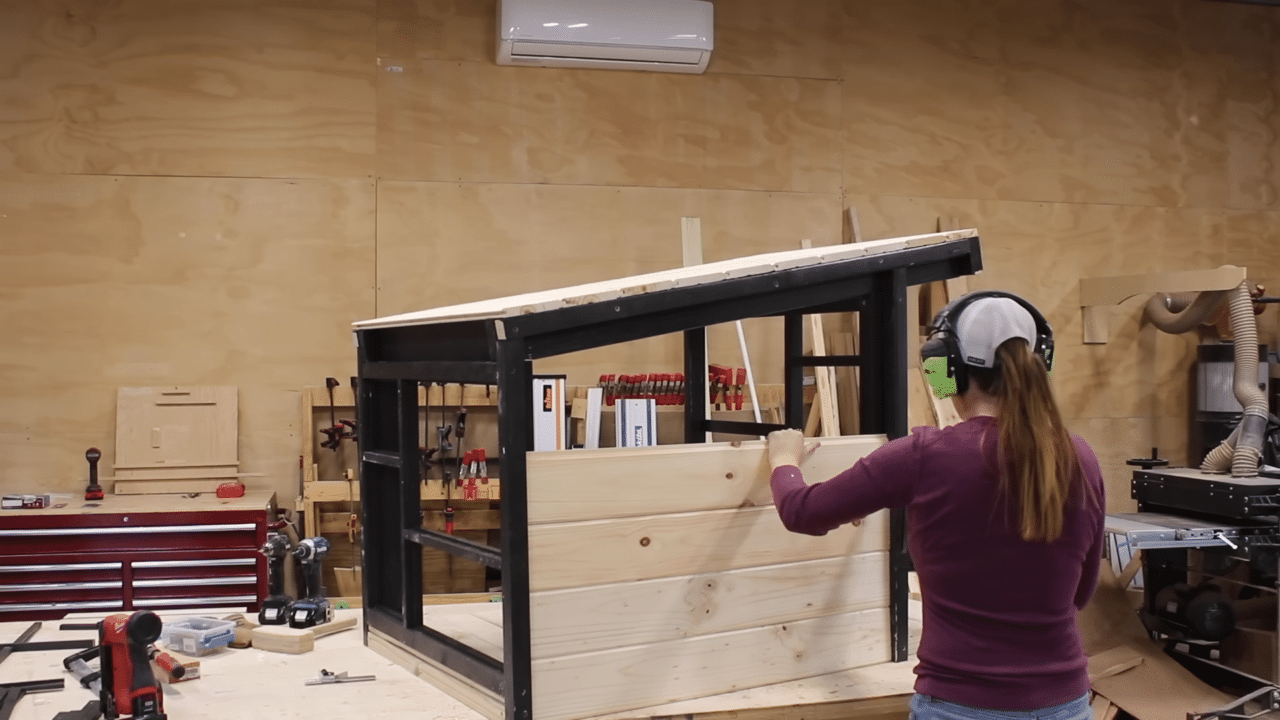
Next up is siding! This is made up of that same tonge and groove material I made for the roof and it’s just as simple to throw on vertical as it is horizontal. Once cut to length, you just need to make sure the board going on is seated all the way down on the previous board. Again, I’m using my nailer to attach things. Nice and simple. When I get closer to the top, I use my bandsaw to cut in the angles needed. RT audio I’m calling that good. I did the same exact process on the other side.
Step 6: Completing the front and back walls of the dog house
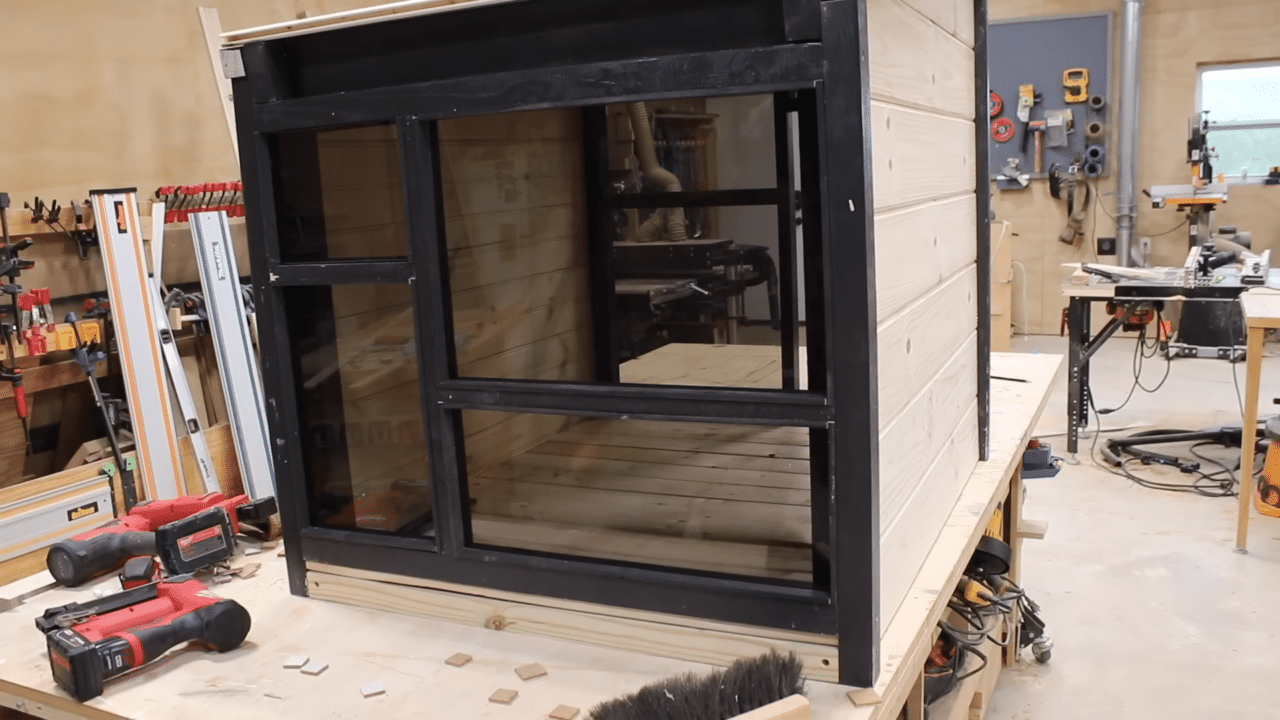
Let’s complete the front and back walls. I’m sure you were wondering why there are so many empty cavities designed in. It’s because I wanted the dog house to have class paneling. I don’t know about your pups, but mine like to be able to see what’s happening in their domain. Instead of one large panel, which you can very well do if you want to simplify things, I decided to break up the space into multiple small ones.
This is where our first 3M science product comes in. Not the glass…..but the film applied to the glass. A fun fact: visible light is light you can see and infrared light is what you can feel. 3Ms Sun Control Window Film Prestige Series reflect the suns infrared light significantly reducing the hat coming through windows. In addition to that, they also reject up to 99.9% of damaging UV rays. These films are designed to be applied directly to your existing windows to provide an easy and cost effective upgrade vs replacement. It allows my pups the openness windows provide without letting the heat and UVs in.
If you can’t tell, I am loving this thing.
Step 7: Building the Roof of the Dog House
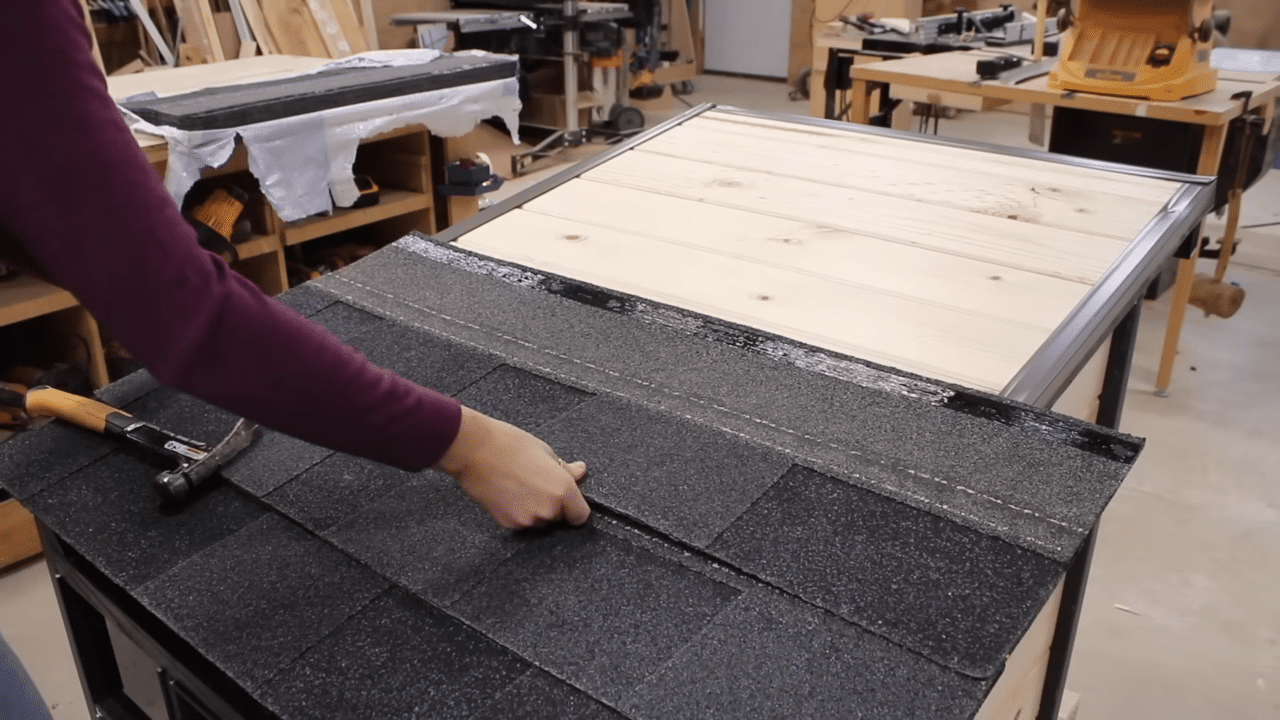
Ok moving on to the roof! Before adding shingles, I went around the edges and added metal drip edge. What I do to install this is I hold it up on the edge, starting with the short side first, then cut it where the corners land. You’ll want to use roofing nails to attach it down. Since one piece won’t wrap all the way around, I let the leftover amount hangout, then used a new piece to finish covering the remaining side. Using a roofing nail to tack through both.
With that down it was a simple matter of nailing down the shingles. I figured out the overhang on the left then let the right run wild. I’ll cut it later. The shingles have a yellow zone to use the nails on.
While I work my way from the eve to the peak, let me tell you the awesome science of these shingles. 3M is making smog pollutant reducing granules (the tiny particles that make up the shingles) that might sound like a mouth full but it’s fascinating. These granules will absorb and hold onto nitrogen oxide in the air that touches it.
Then it will turn it into water soluble ions that not only safely wash away with the rain but then carry the nitrogen to the ground below which helps plants and grass. To put it simply, these granules, the shingles turn a roof into a smog fighting surface where it will take nitrogen from a place we don’t want it, and carry it safely to a place we do.
And that my friends, is how you can build your dogs a bougie house, very simple and easy but so stylish. Also remember I have a set of plans available if you want to build your own.
Step 8: Showing off some 3M products
I’m going to go ahead and add more accessories in order to show you two more really cool products 3M has initiated and released to do their part in changing the world.
First up is a dog bed. 3M innovated a 100% recycled featherless insulation called Thinsulate. I’m using it as the stuffing material in a dog bed (I just bought one then replaced the stuffing inside with insulation) However, it’s everyday application is actually within performance apparel and outerwear. It’s made from 100% recycled content such as plastic bottles that end up in the landield, meaning it’s helping to address global waste. It’s lightweight as natural down and still performs when wet.
Then the last thing to show off is called the Midsummer solar roof panel where 3M’s Ultra Barrier Solar film is incorporated. Due to low material consumption, a unique manufacturing process and production, Midsummer’s solar roofs have a 90% lower carbon footprint compared to traditional solar panels.
I’m so proud to be partnering with a company like 3M who isn’t only concerned with their bottom dollar but are setting goals for themselves to be carbon neutral and then investing time, money, and research to innovate products to accomplish it. Every new 3M product has a sustainability value commitment that shows how it contributes to the greater good. The four products in this dog house are just an example
I really hope you enjoyed this project. Check out my website for a set of plans not only for this
