
Table of Contents
For over a decade, one of our renovating mantras has been “the middle makes no sense.” Basically, don’t fret if your house is mid-reno, not fully furnished, or otherwise in limbo. Take your time, try something out, and just course correct as you go. See what you like and what you use. Live with something for a little while (or a long while). Take the expectation of having a finished perfect house right away and throw it in the trash (it always takes us years to get to that point!). Just keep letting spaces evolve in ways that work for your family and make you happy. And eventually, you’re very likely to end up with something you love and find extremely useful.
This particular corner of our bedroom has been a perfect example of that mantra… especially because it got very weird there in the middle (wait for it).
First, let’s rewind because BOY has this corner come a long way. This is what it looked like 3 years ago, right after we moved in. This furniture arrangement can best be described as “working with what you have.” At that time, we had future plans to build a closet there (which you can see rendered in this post), but we later ended up putting a much larger closet system elsewhere instead). Once again, it’s a good demonstration of living with an idea for a while and course-correcting as you go.
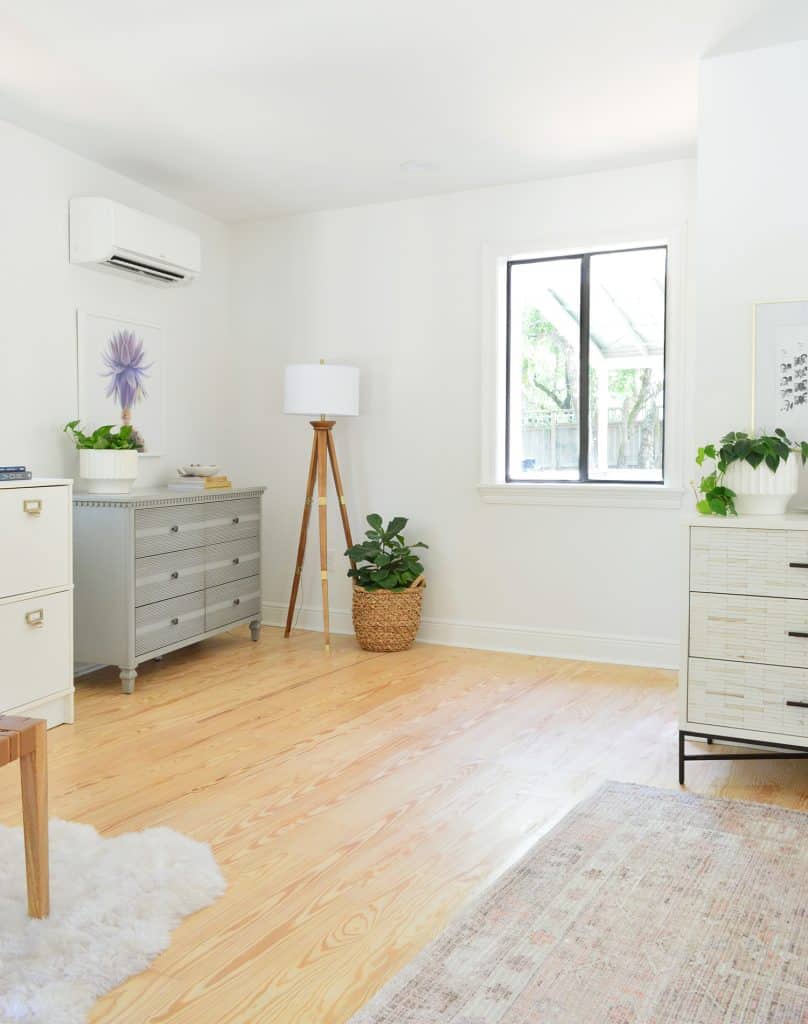
To better orient you, the left side of the photo above is the same wall that the fireplace is on in our bedroom. See the gray dresser cropped out on the right below? That’s the same one that’s pictured above.
It’s a funny corner to work with for a couple of reasons. The first one is that the walls don’t meet at a right angle (which you’ll see more clearly later in this post). It’s a very clearly pronounced acute angle. Nothing close to 90 degrees (or 98 Degrees, RIP). The second factor is that it’s plainly visible from our kitchen / sitting area. It always felt funny that guests were looking directly into our bedroom, so we tried to make it look as un-bedroom-like as possible. Here’s that view right after moving:
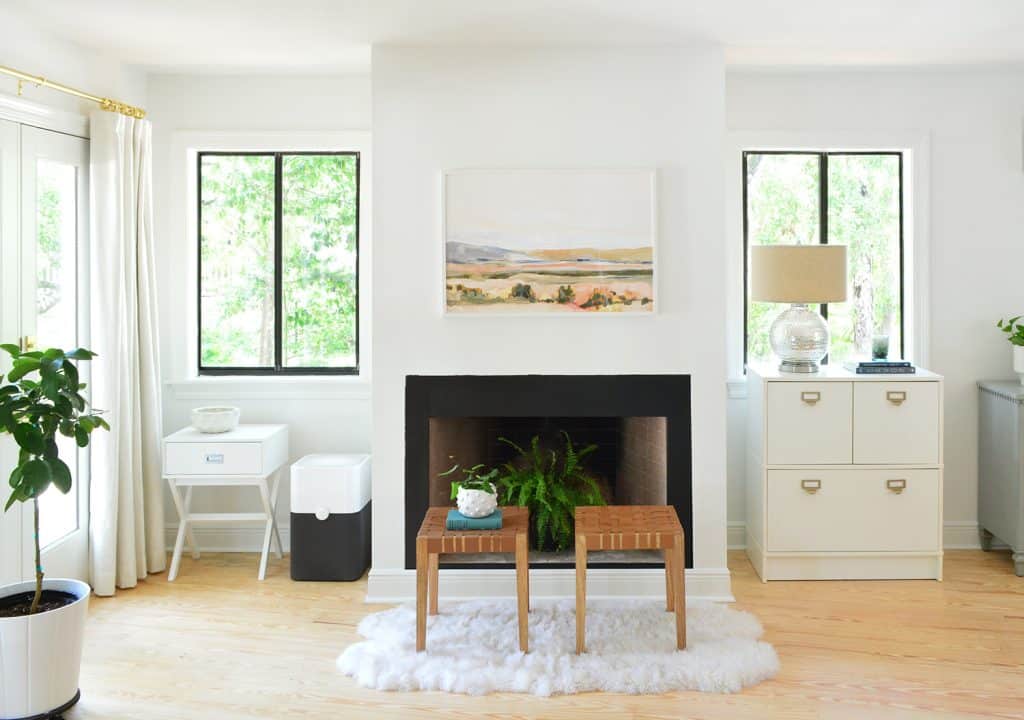
You may also know this corner as the spot we later decided would work well as a second bathroom if we ever decide that we need one of those. We’ve put that plan on hold (maybe forever – more on that here) but for a while that maybe-in-the-future thought scared us away from doing anything better with that corner for fear of “it’ll all change later when and if it’s a bathroom so why bother.” For example, when we installed these built-ins around our fireplace, we stopped short of going fully wall-to-wall on the right side, assuming we’d eventually add a wall there and that’s where the future bathroom would live.
So for a while now, this corner has looked like this. The dresser itself looks pretty nice if we stand close enough to only see that from the doorway…
… but in the context of the whole room, this little “moment” didn’t really make much sense.
Even if you scooted a little to the right of that doorway from the sitting area, the dresser looked kinda weird just sitting next to that built-in cabinet.
Was this the end of the world? Nope! We lived with it like that for a good year or so. And it eventually became clear that we were “holding” this corner for a potential future bathroom plan that was becoming less probable by the day… so that spurred us into thinking a little more about what we actually wanted from that corner in this current moment instead of waiting for the far off future to gain something more useful from that spot.
It felt great to consider some other, more permanent solutions for this space. Nothing that couldn’t be undone in a literal day should we decide that we suddenly want that bathroom in 2029 or something (cabinets + shelves are hardly a permanent installation). This brought us to a solution that we love because (1) it looks good / non-bedroomy from the kitchen and (2) it adds tons of functional storage (both concealed and open).
There are pretty much three main elements to the change:
- We extended the Ikea Besta cabinets so they’re truly wall-to-wall
- We built them in with trim & countertops (so worth the effort for that custom look)
- We added 3 long floating Ikea Lack shelves above them
We considered a few other things (like a more elaborate built-in hutch with glass on top for example) but in the end, we love the clean and modern look of this corner now. It also feels like it’ll serve us for a very long time (if you’re taking bets, I’d wager that we’ll never add a bathroom).
We really lucked out that Ikea’s stock Besta sizes fit perfectly along this wall. It felt like a small miracle since, as you can see below, the walls meet at that pinched non-90-degree angle. Since they fit so well, we were instantly able to earn another 70″ of storage by bringing in three more cabinets (!!), and just repeated the same steps we used before to make the Besta cabinets look built-In (add baseboard, fill gaps, top with butcher block).
If you scroll up a picture you can see how extending the counter to fill in that weird pinched corner instantly made that area look a lot less “off” (and you can see more of that corner in the video Sherry recorded for you later in the post). Countertops that go wall to wall can cover a plethora of weird wall/corner issues! And don’t worry, that end cabinet still opens plenty wide enough to get things in and out.
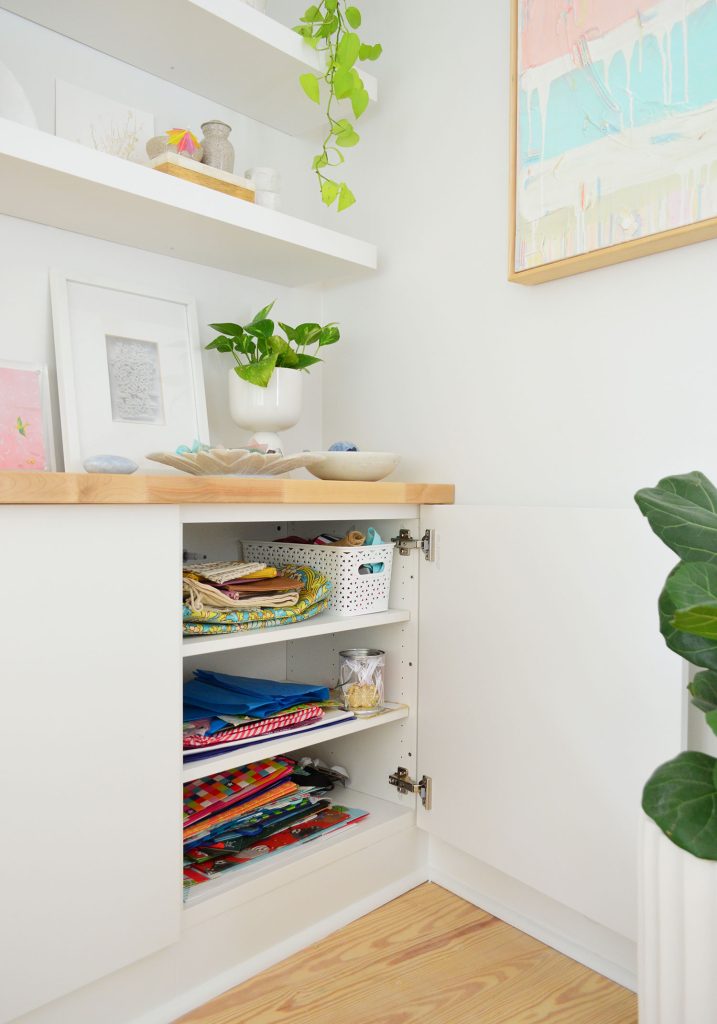
In fact, that one cabinet that you see above stores EVERYTHING that had previously been in the blue inlay dresser – which means we earned two bonus cabinets worth of space in here with this move… not to mention the vertical storage we gained with the three shelves above them!
Speaking of those shelves, we took a highly scientific approach to figuring out what to do above our freshly installed cabinets/counter. We purchased 3 of these 72″ floating shelves, but weren’t immediately married to hanging all three. Thanks to a combination of holding stuff up, putting painter’s tape on the wall, and drawing on photos in Instagram (again, highly scientific) we decided to go for all 3.
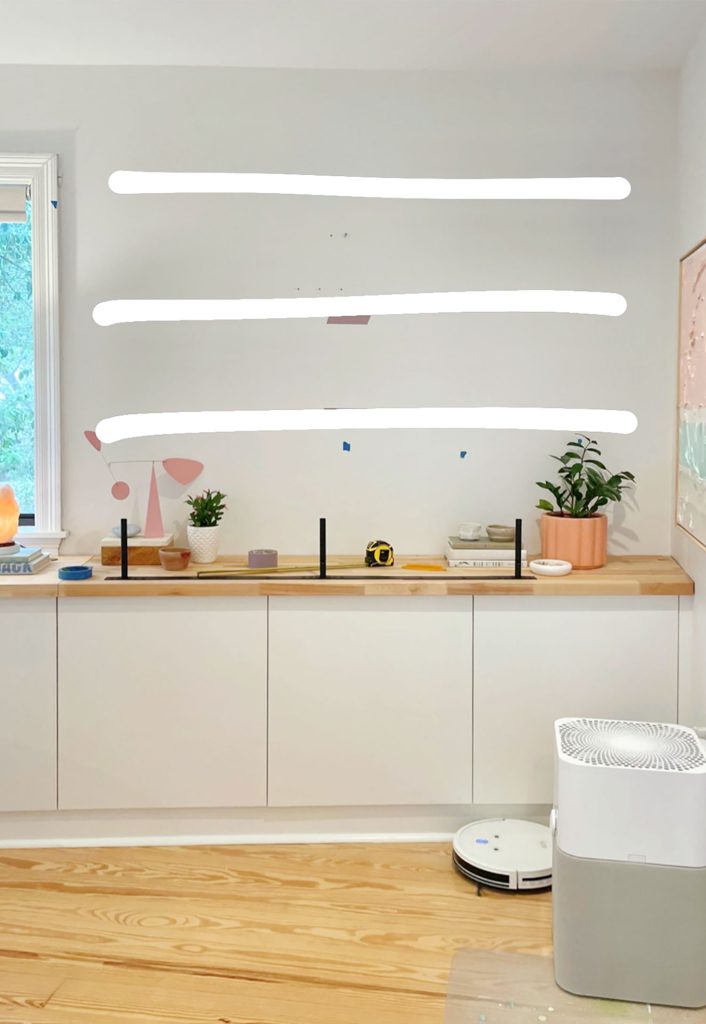
Three felt like it filled the space well, without making each shelf too cramped or too spaced out. Plus, it was the right amount of room for the items we wanted up there. We already have two tall bookshelves upstairs with a lot of our books, so we liked the idea of using these for some books, but also a mix of plants, art, and other objects we love and just want to see each day.
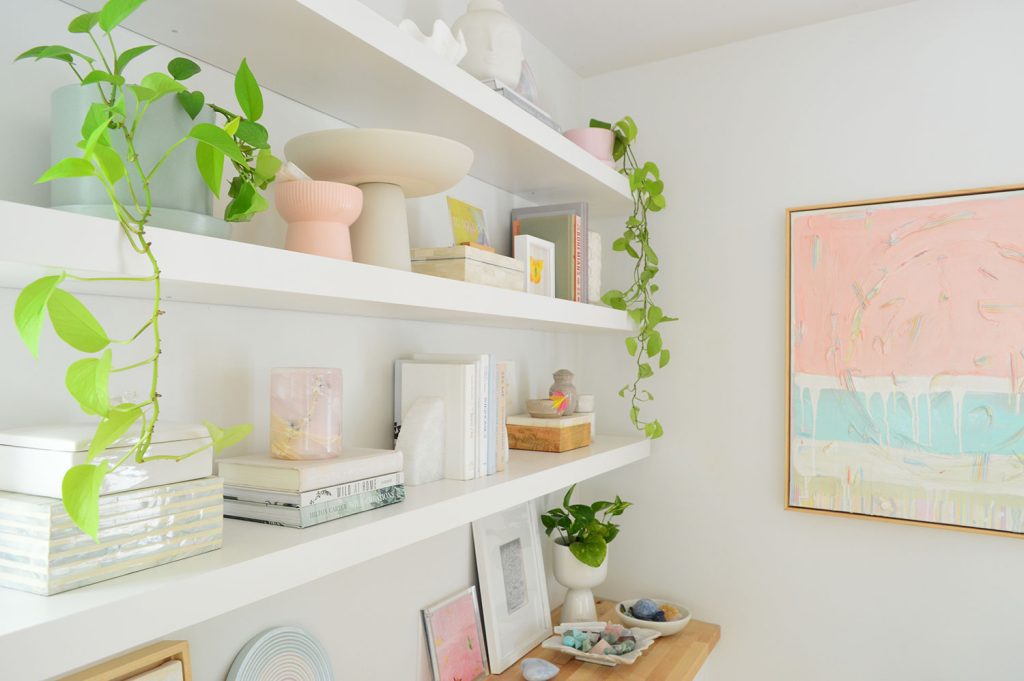
Since I mentioned our two other bookshelves upstairs, here they are. As you can tell, we like to add art + plants to our bookshelves pretty much across the board. They’re the Ikea Fjalkinge shelving units (yep, more Ikea!) and before you release the book police on us, while it’s true that there are about 50 of our nicest-looking hardcover books on these shelves, we also have an entire Besta cabinet in our room by the fireplace packed with our favorite paperbacks and other books.
Ok, back down to the bedroom and how we completed this easy update. People on Instagram often ask Sherry what drywall anchors we use for projects like this. For load-bearing shelves like this, it’s best to go into at least one or two studs (as many as you can, really) but these 75lb EZAncor anchors are also great for the spots when you can’t hit a stud. They’re SUPER easy and quick to install, which is why they’re our go-to wall anchor. We used these exact anchors to hang these shelves and they’re not going anywhere.
Remember that our goal in here was: more space for concealed storage and pretty things we like to look at + a view that doesn’t scream “this is our bedroom!” from the doorway. So we’re pretty pleased to end up with something that checks all of those boxes. Also, have you ever met a shelf Sherry didn’t enjoy styling? I haven’t.
Also for anyone worrying about what Sherry can reach (somehow she always gets asked), she can easily access anything on the bottom two shelves, and she is married to me exclusively for my long arms that can reach the top shelf 😉 Also we have chairs. And a step stool.
This video is for anyone who wants to see the entire bedroom and get a feel for how this new corner solution fits into the room as a whole (and how good the view is from the kitchen door where we enter!). It explains more about how we added height throughout this room to draw the eye up (the bookshelves balance some other items in the room that have height) and you can see how much storage we gained thanks to her very active pointer finger:
Note: You can also watch this video on YouTube.
To take this post full circle, I wanted to end with one more before & after of sorts. Remember this view from the top of the post? From right after we moved in?
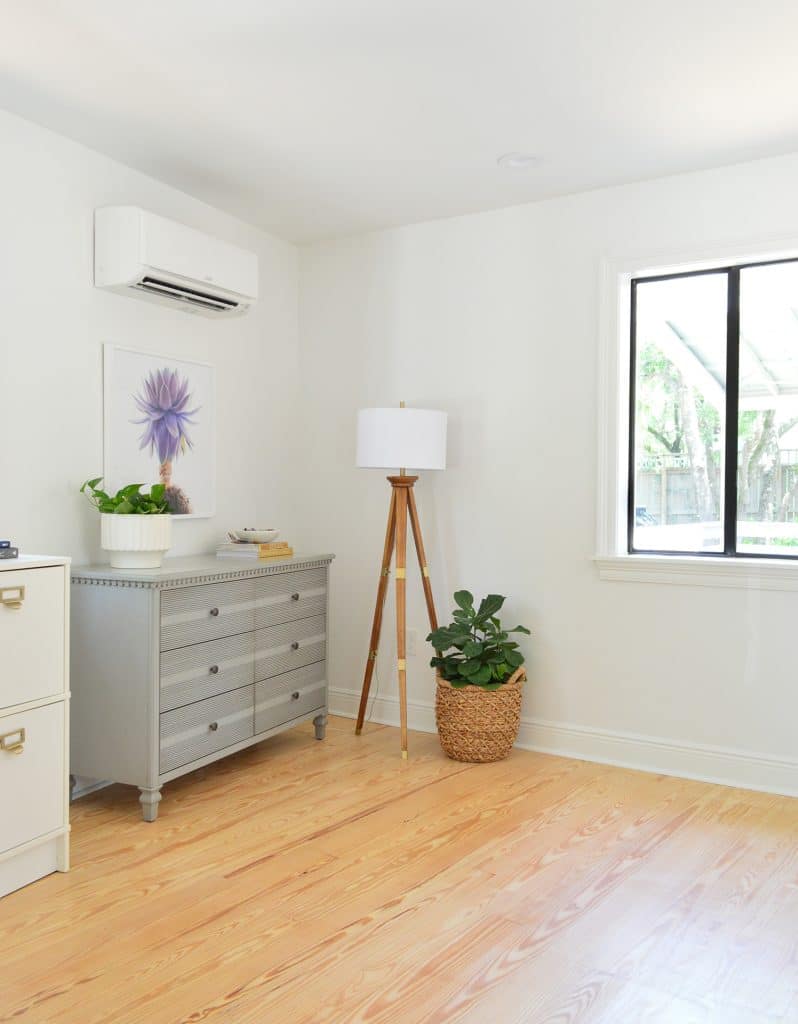
Now it looks like this (if you’re wondering where that mini-split went, this post will fill you in).
It’s such a good feeling to “make sense” of this spot that has been stuck in limbo for nearly 3 years. It’s easier on the eyes and it’s so much more functional for us. Not only did we gain two entire Besta cabinets worth of storage (and three floating shelves worth of vertical storage), we’re completely at peace knowing that if we ever change our mind again, nothing was that expensive (yay Ikea!) or permanent (yay, screwdrivers) that we can’t undo it down the road.
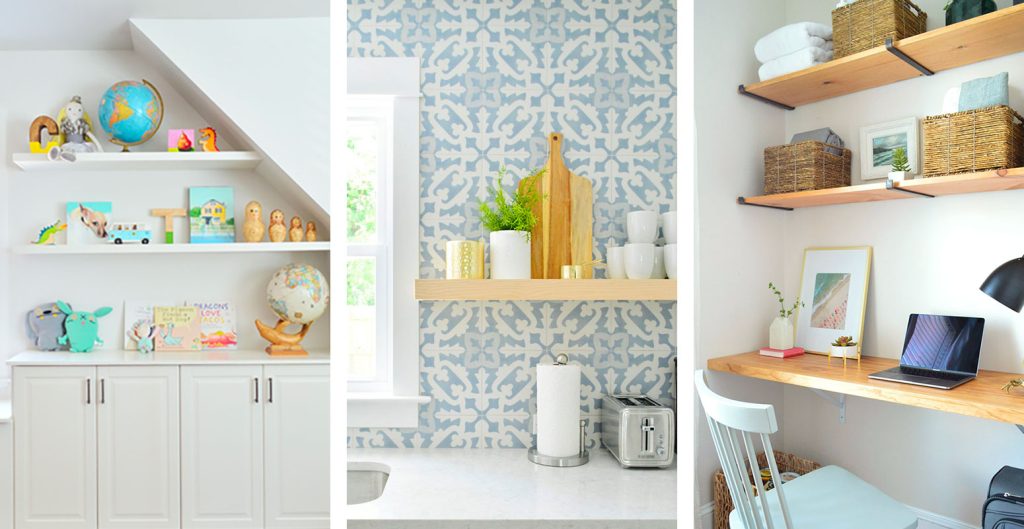
More Floating Shelving Projects
If you want to check out more floating shelves we’ve added (or built ourselves!) here are some other posts that might help you find a good solution for your space:
*This post contains affiliate links, so we may earn a small commission when you make a purchase through links on our site at no additional cost to you.
